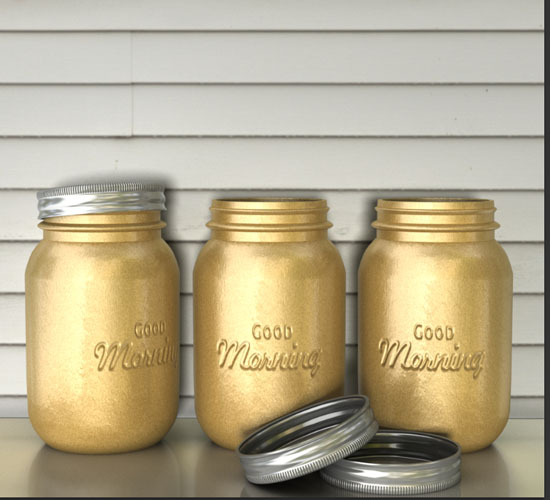
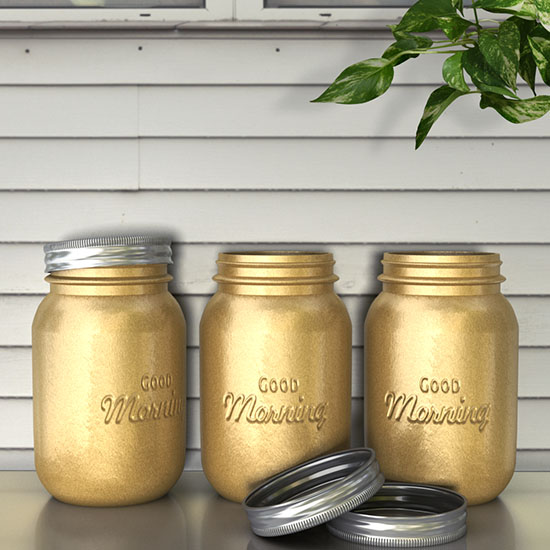
In this tutorial, you’ll learn how to use Photoshop CC’s 3D capabilities to create a mason jars-inspired jar from scratch. Then, you’ll modify its material Settings to give it a golden metallic spray painted appearance, and add some embossed text on it using Bump maps. You’ll then add the jar(s) created to a simple scene, and modify the final outcome in a couple more steps. This should be so much fun, so let’s get started
The Final Result
Tutorial Details
- Software Used : Photoshop
- Version : CC
- Time : 2:00 – 3:45
- Jar Outline Reference Image.
- Delicious SmallCaps font.
- Kavaler Kursive font.
- WoodPlanksPainted0270 Texture.
- Bokeh Stock I by KathleenMay.
- Plant (Epipremnum pinnatum) by Black-B-o-x.
- You’ll also need to load a Pattern set. To do so, go to Edit > Presets > Preset Manager, and choose Patterns from the Preset Type drop down menu. Then, click the little arrow to the right of the Preset Type drop down menu, and click Texture Fill 2 near the bottom of the pop-up menu. When the dialog box appears after that, just click Append, and you’ll get the set.
Create the new 1000 x 1000 px document, and set the Resolution value to 150. Then, use the Pen Tool with the Shape option selected in the Options bar to draw half of the jar and lid’s outlines. You can drag a Guide to the center of the document to help you connect the center points of the outline.
You’ll need to create thin closed shapes that define each part. These parts will be revolved later to create the full 3D shape. So try to imagine what the 3D shape’s outline will look like to create it. You can also use reference images of your choice, or use the image in the Resources section.
Some tips for using the Pen Tool:
- Click once to add sharp points.
- Click and drag to create curves.
- Click to add a point, press and hold the Shift key, then click again to create a straight line between the two points.
You can then use the Direct Selection Tool (A) to click and drag the points in order to move them, or click and drag their handles to change their orientation and width.
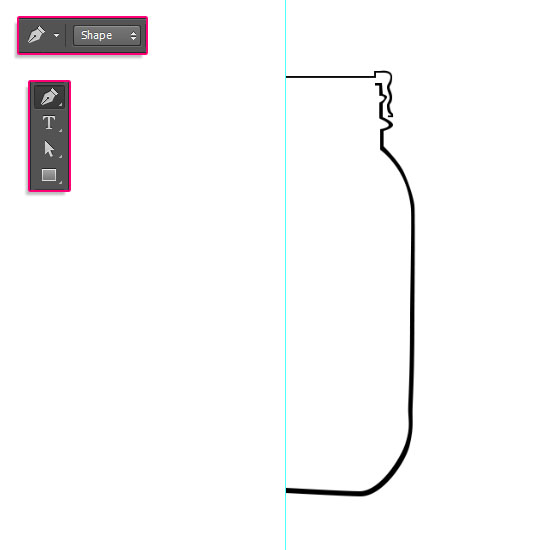
Make sure to create each shape in a separate layer as well, then rename its layer to keep things organized.
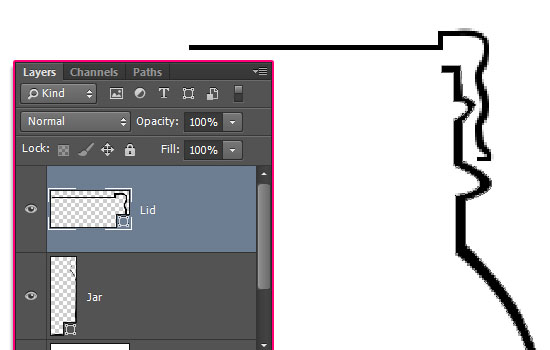
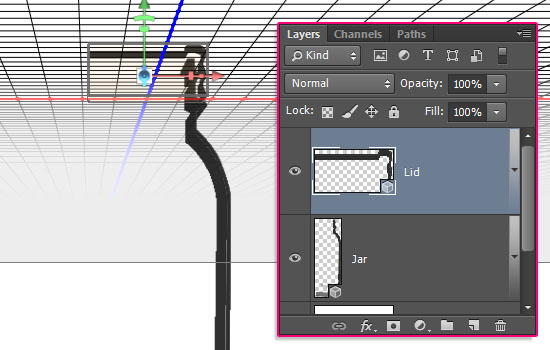
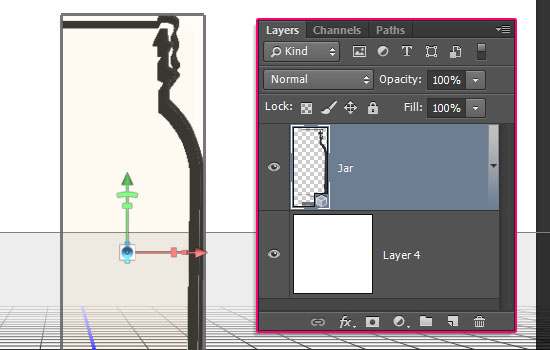
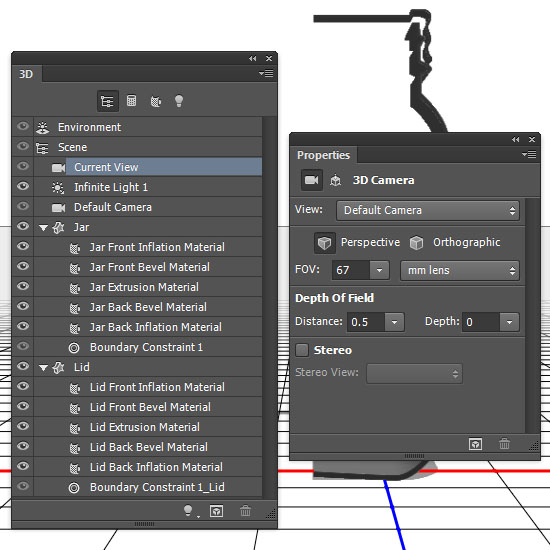
The 3D panel has all the components of the 3D scene, and when you click the name of any of those, you’ll be able to access its Settings in the Properties panel. So make sure to always select the name of the element you want to modify in the 3D panel before you change its Settings in the Properties panel.
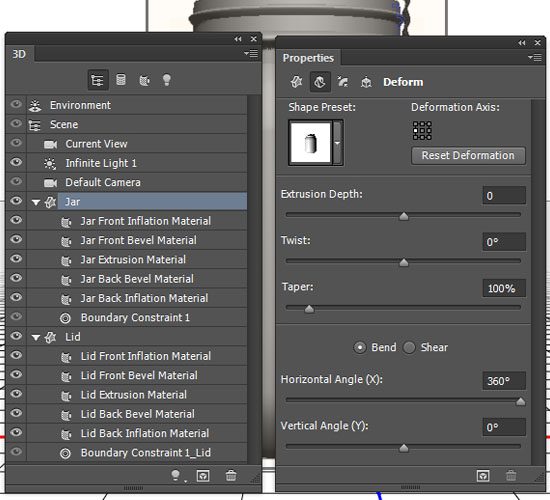
Select the Jar mesh name in the 3D panel, then click the Deform icon at the top of the Properties panel.
Change the Deformation Axis to Left, since this is the Axis we want the outline to revolve around. Then, change the Extrusion Depth to 0 and the Horizontal Angle (X): to 360.
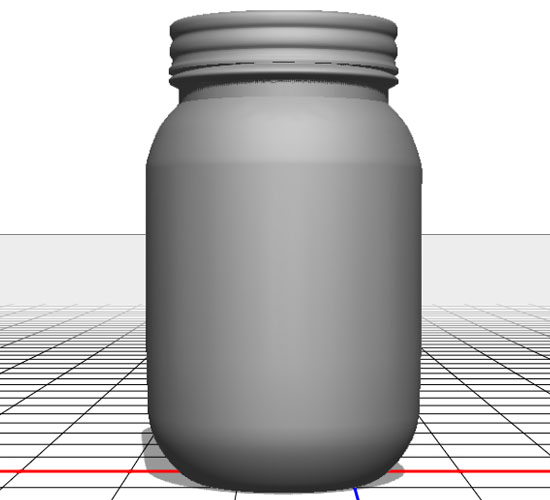
To keep a back up of the jar save this Document (File > Save), then save it as a copy (File > Save As) to work on the texturing next.
Before working on the texturing, we’ll need to create a simple pattern first.
So create a new 1 x 12 px document with a
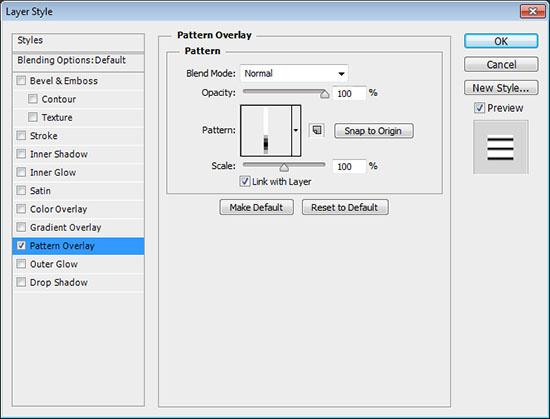
White Background fill. Then, use the Rectangular Marquee Tool to create a 1 px square at the bottom, and use the Paint Bucket Tool to fill the square with the color #b3b3b3.Create another square on top of the previous one and fill it with the color
#4c4c4c. Create yet another one on top of both and fill it with the color #000000. Then, add two more squares and fill them with the colors #4c4c4c and #b3b3b3. 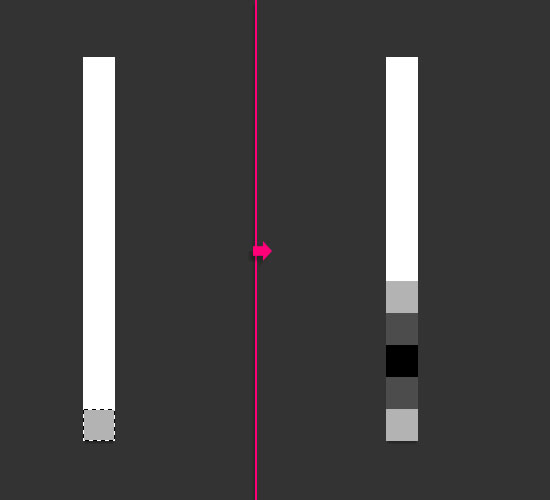
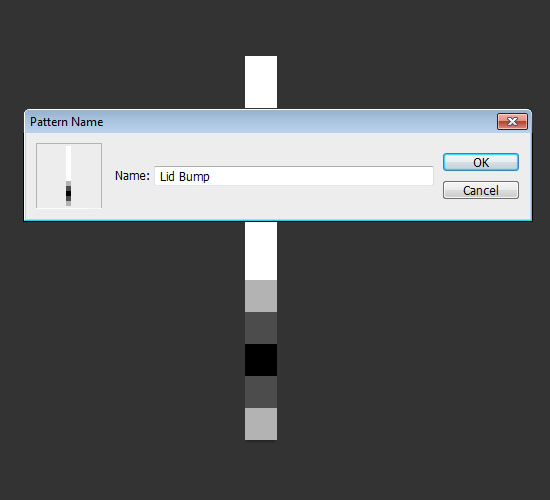
Step 4
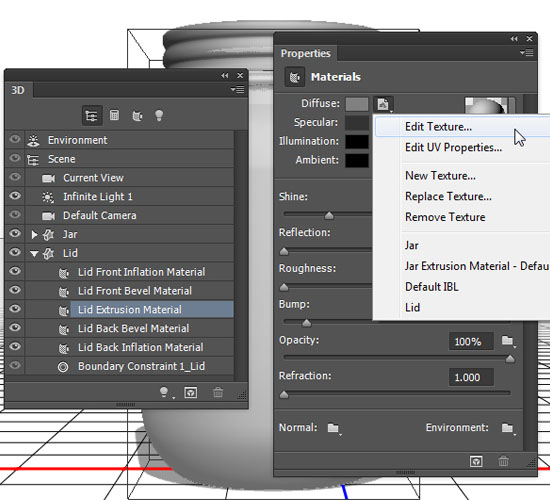
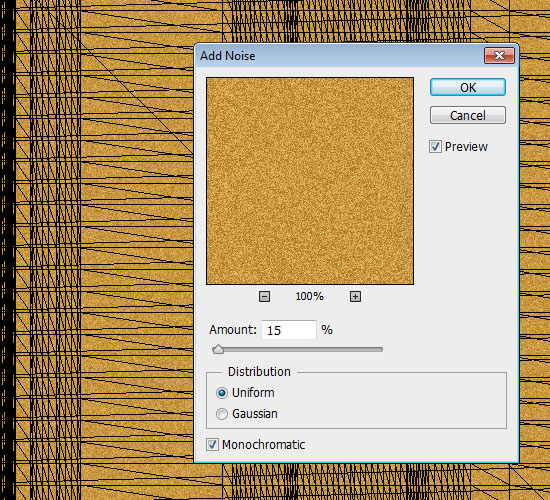
Click the Lid Extrusion Material tab in the 3D panel, the click the Diffuse texture icon in the Properties panel and choose Edit Texture.
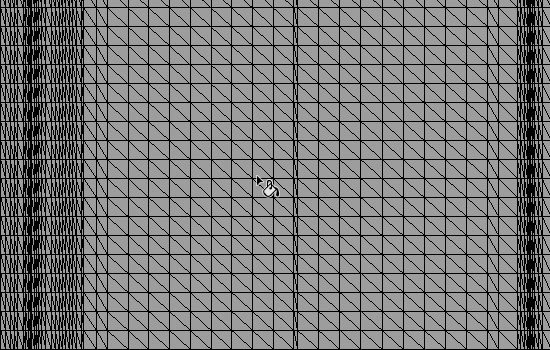
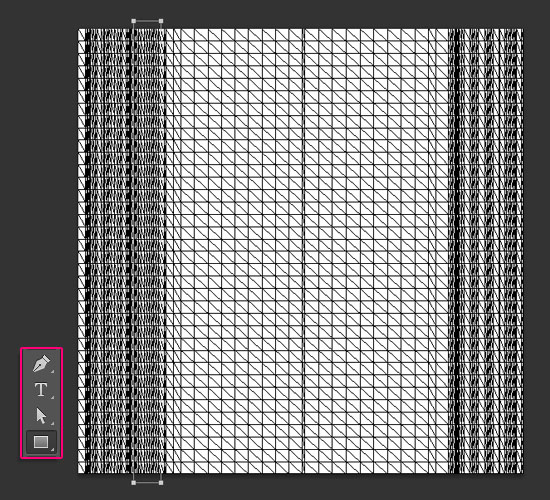
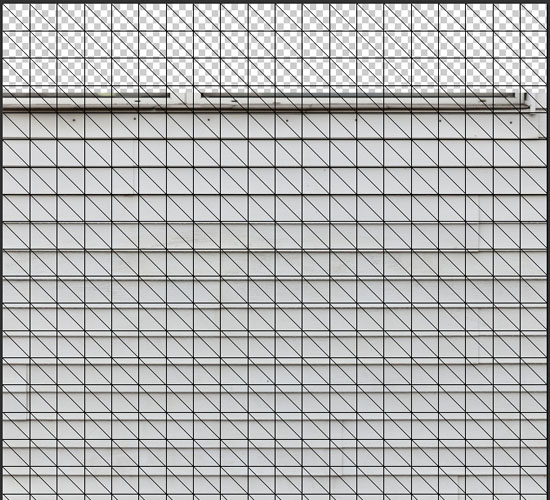
#9d9d9d.The black lines are the UV Overlay, which match coordinates in the 2D texture map with specific coordinates on the 3D model, allowing the 2D texture to be painted correctly onto the 3D model.
You can turn this on/off anytime by going to View > Show > UV Overlay.
Save the file and close it to go back to the 3D Scene’s file.
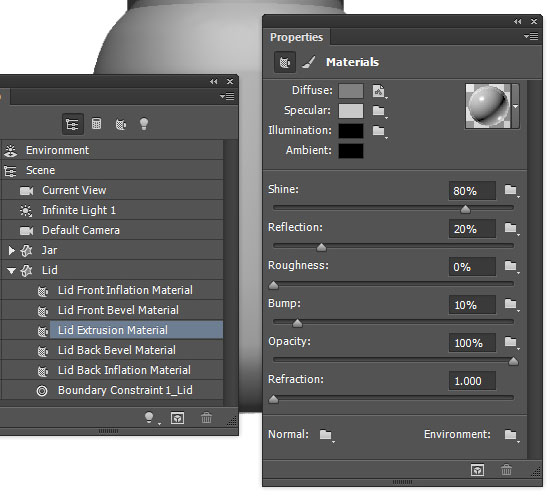
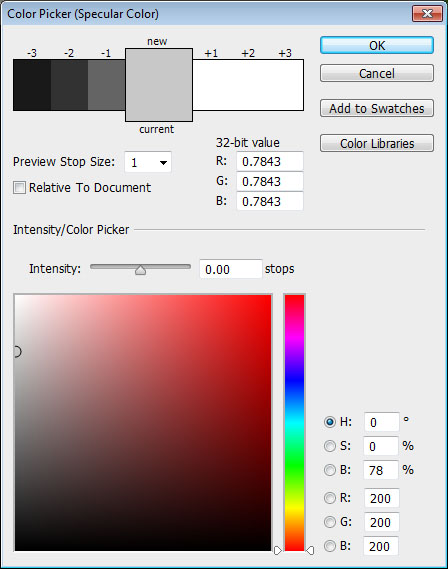
- Specular :
R = 200, G = 200, B = 200
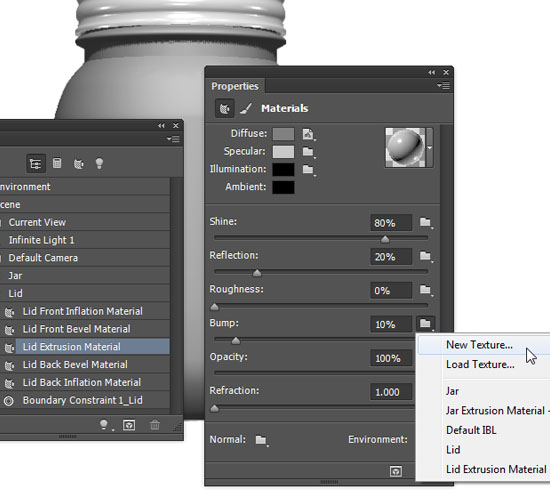
Click the Bump folder icon and choose New Texture.
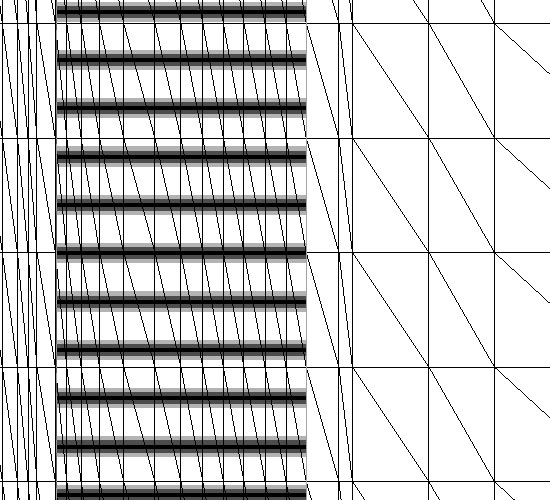
To do that, save the file (Ctrl/Cmd + S), don’t close it yet, but click the original 3D Scene document’s tab to check out where the bump is applied. Then go back to the Bump Texture’s document to adjust the placement of the rectangle accordingly, or even change its size. Save the file and check the outcome once again.
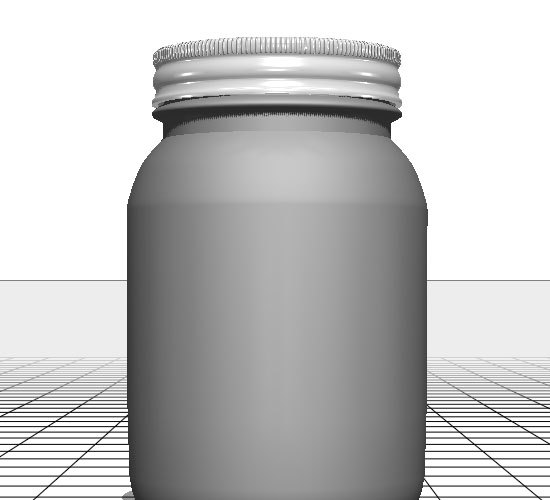
So click the Current View tab in the 3D panel the click and drag to change the view so that you can check how the texture looks all over the lid. You don’t want the texture to be covering parts it is not supposed to cover.
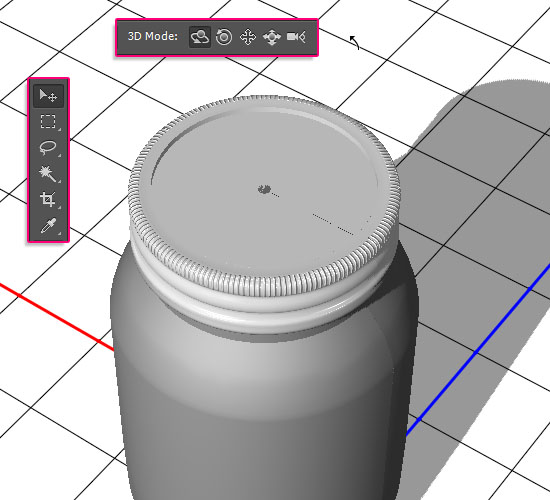
This will make placing the 3D elements in one scene easier later on.
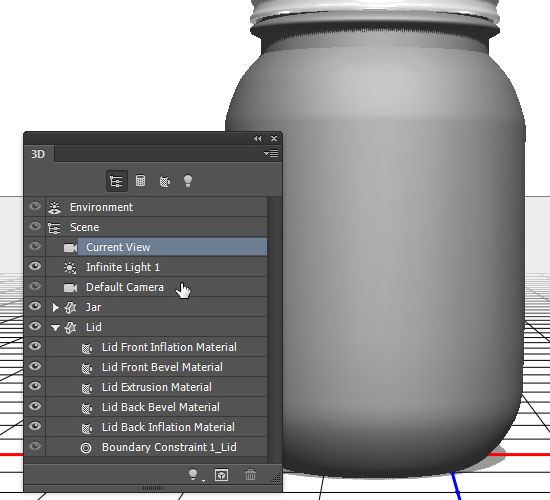
Step 6
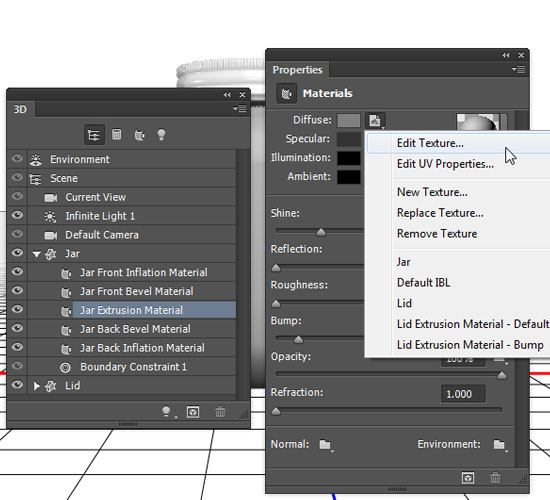
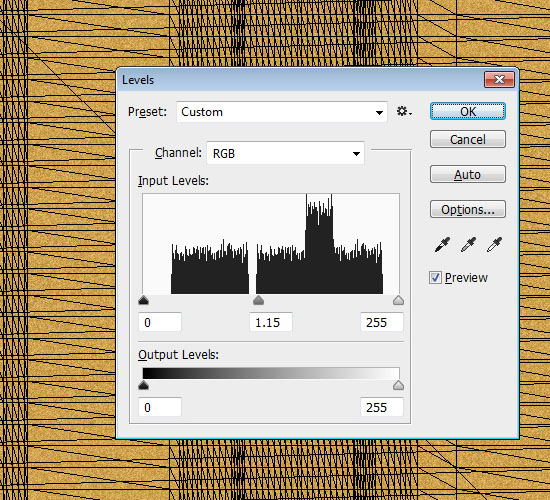
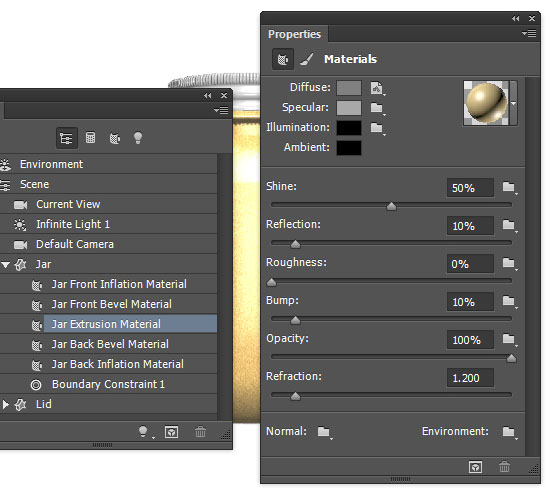
Click the Jar Extrusion Material tab, click the Diffuse texture icon and choose Edit Texture.
#c89742 and the Background color to #cea45c, then fill the document with the Foreground color.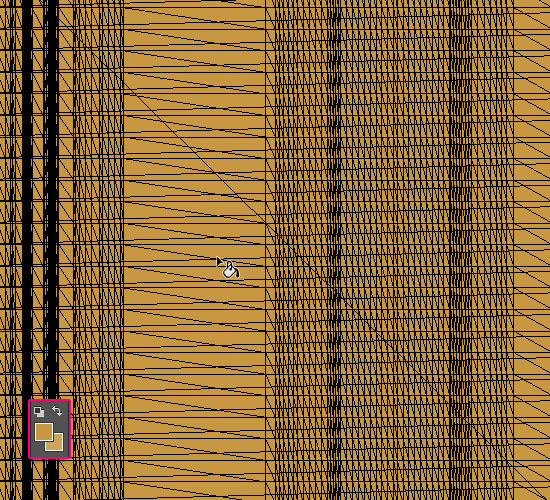
- Specular :
R = 168, G = 168, B = 168
Step 7
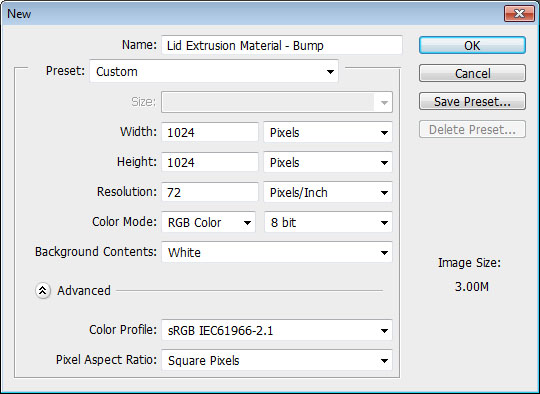
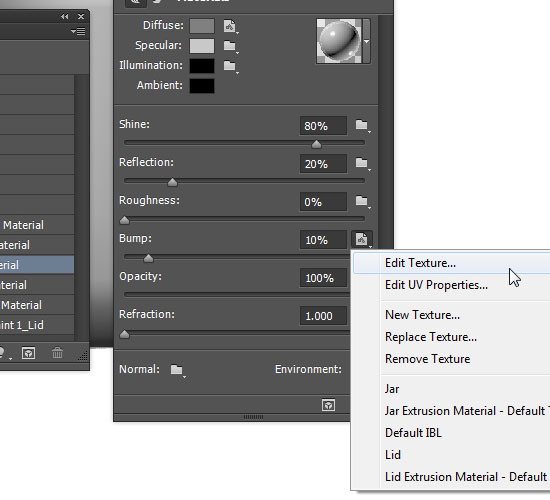
Click the Bump texture icon, choose New Texture, type 1024 for both the Width and Height values, then click the Bump texture icon and choose Edit Texture.
Fill the Background with
Black and duplicate its layer.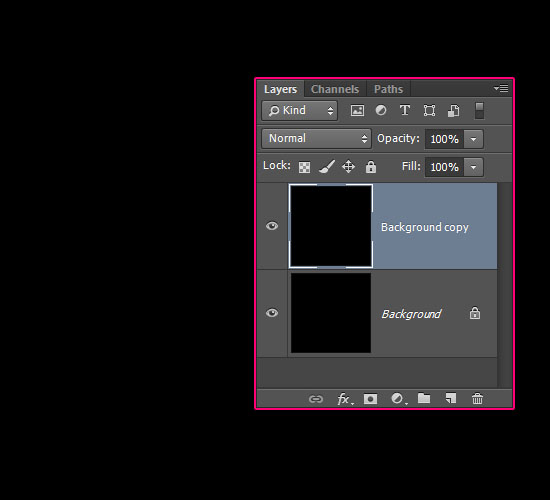
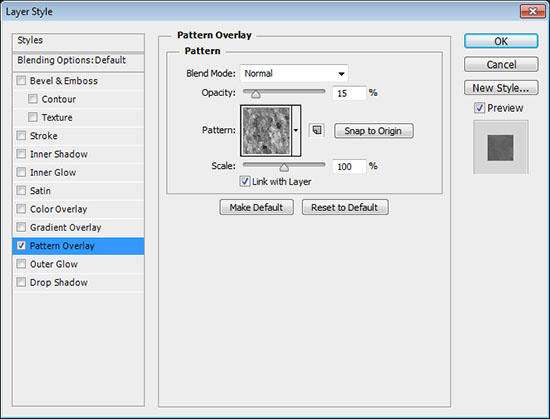
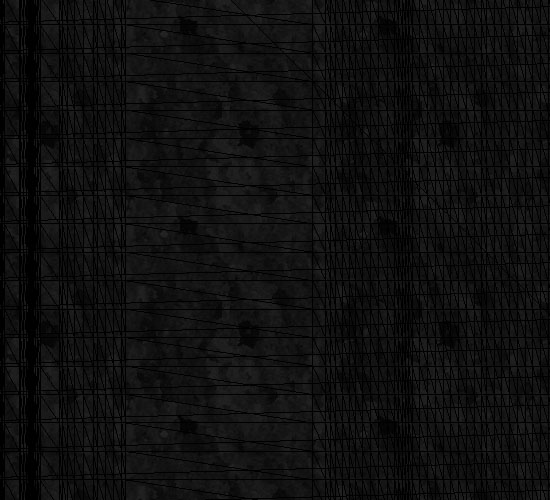
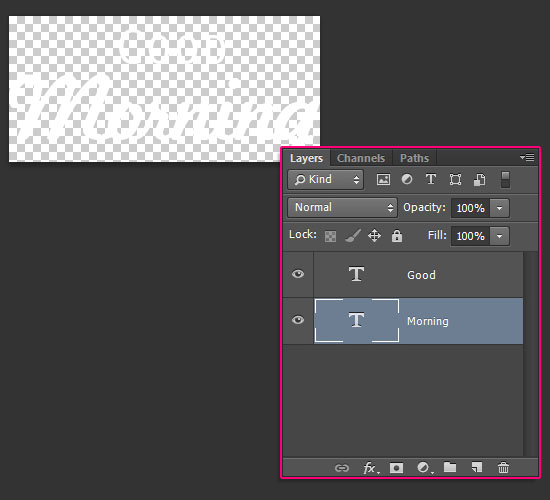
It’s time to add the text now. So create the text you want, any text, using whatever fonts and font sizes you like, just make sure to create it in
White.The text used here is created in two separate layers, using the fonts Delicious SmallCaps and Kavaler Kursive, and the font Sizes 55 and 65 pt.

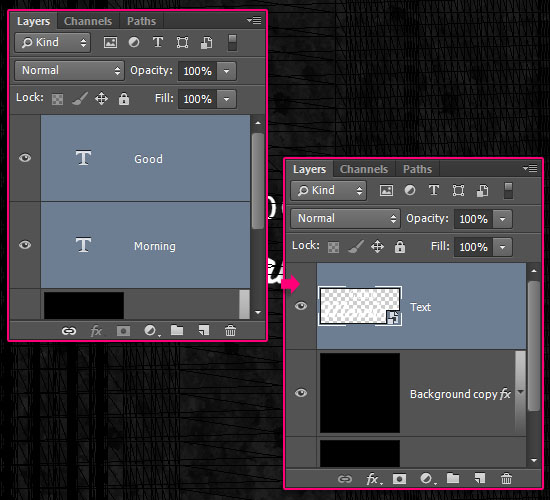
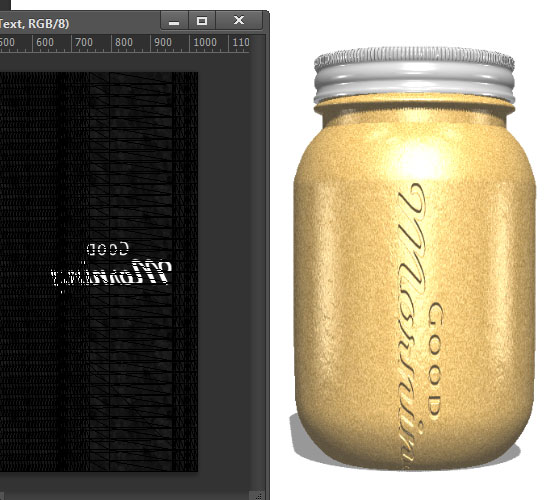
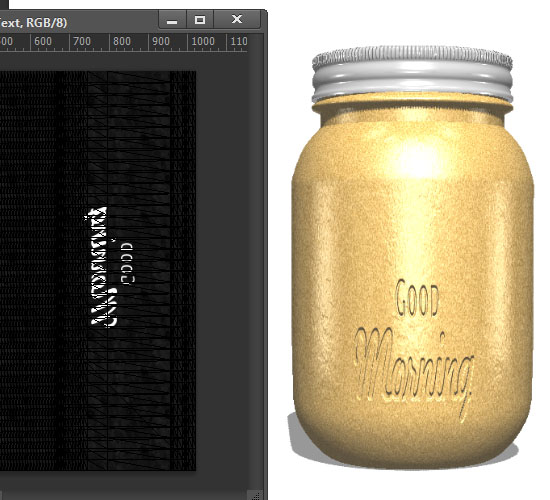
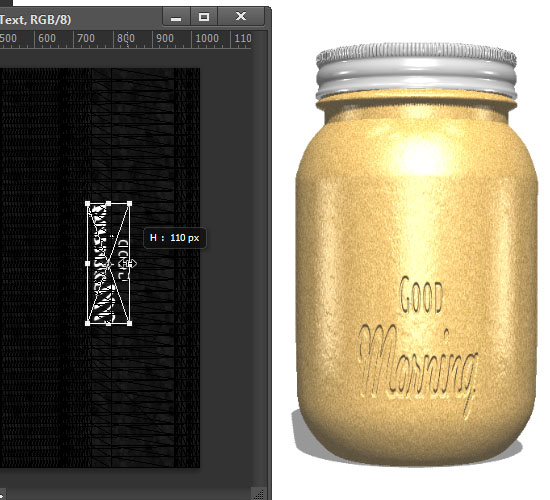
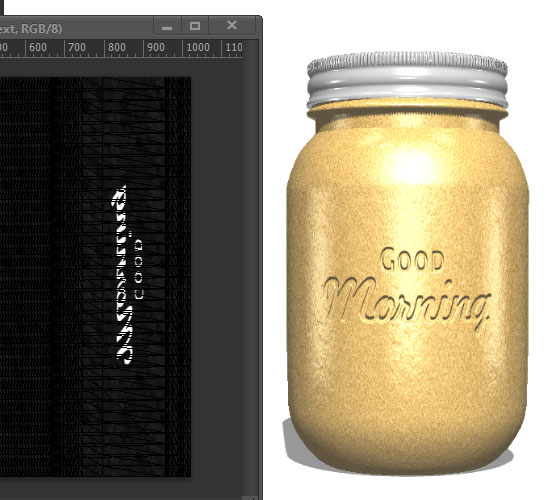
What you’ll need to do next, is make all the changes needed to place the text correctly on the jar. So you’ll modify the text inside the Bump texture’s window, save the changes (Ctrl/Cmd + S), then check the outcome in the 3D Scene’s document, and make some more changes accordingly until you like how things look.
Start by moving the text in the Bump texture’s document around until you can see it on the jar’s front. Don’t forget to save in order to see the changes.
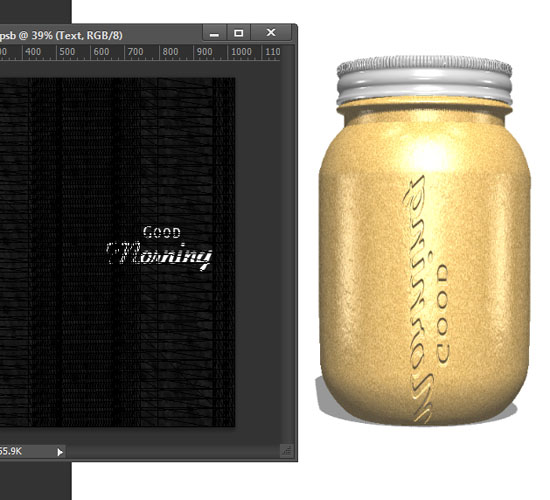
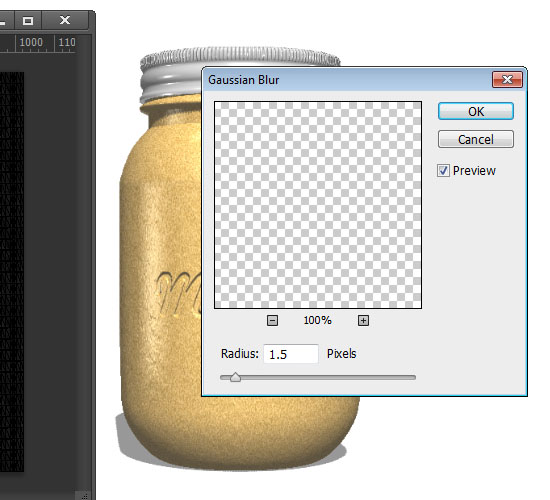
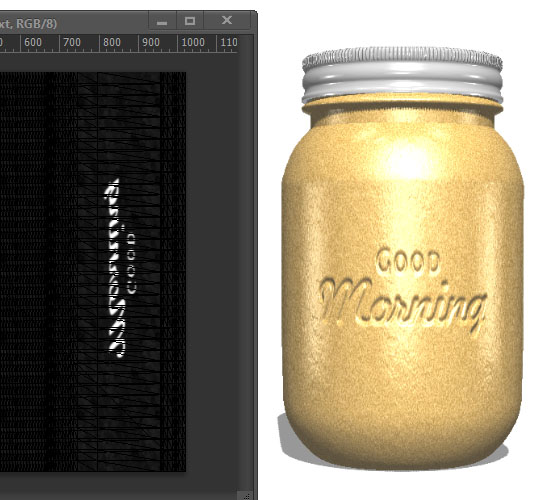
If you type new text that is larger than the document, you can go to Image > Reveal All to fix that issue.
Save and close to apply the changes.
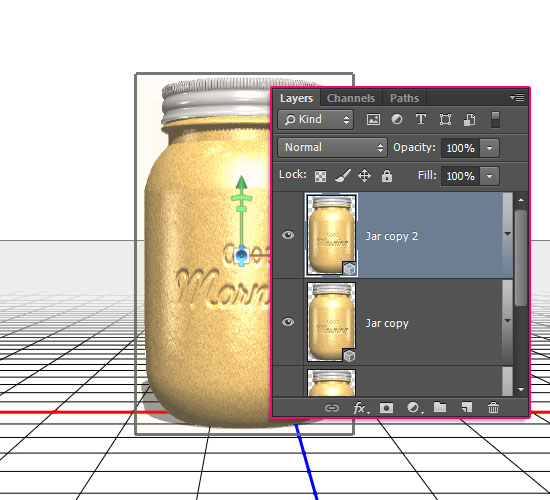
Once you like how the jar looks, duplicate it if you want to add more than one to the final scene.
Black.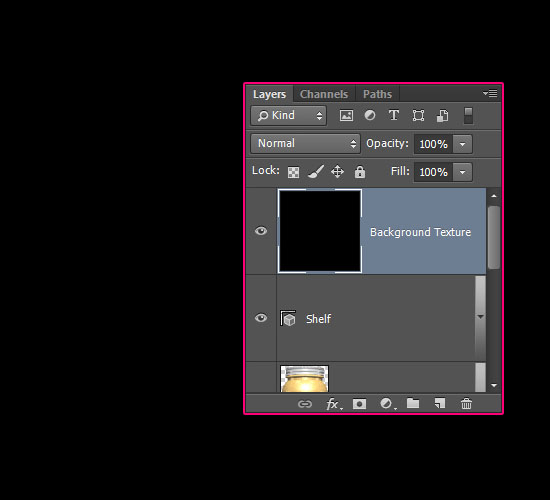
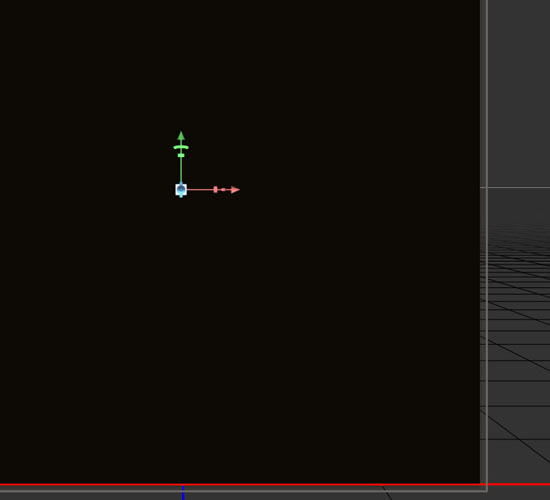
Step 10
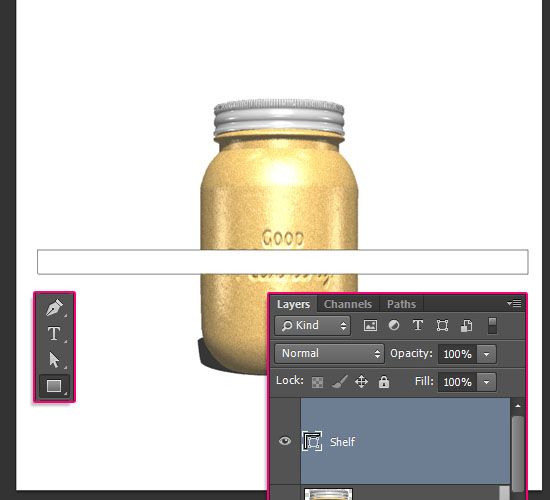
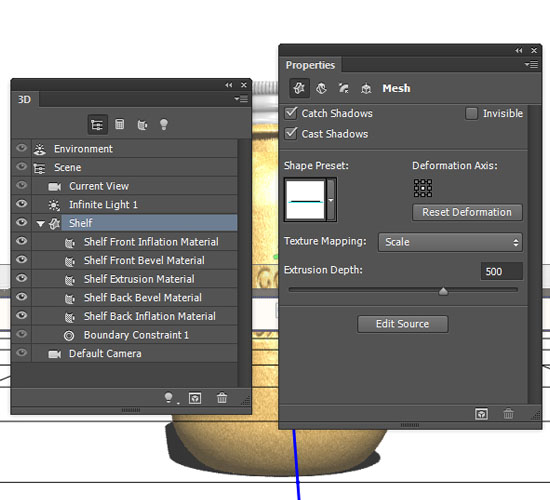
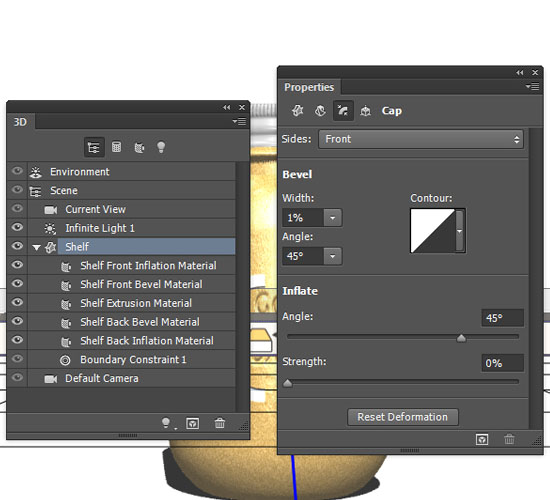
Select all the 3D layers you have then go to 3D > Merge 3D Layers.
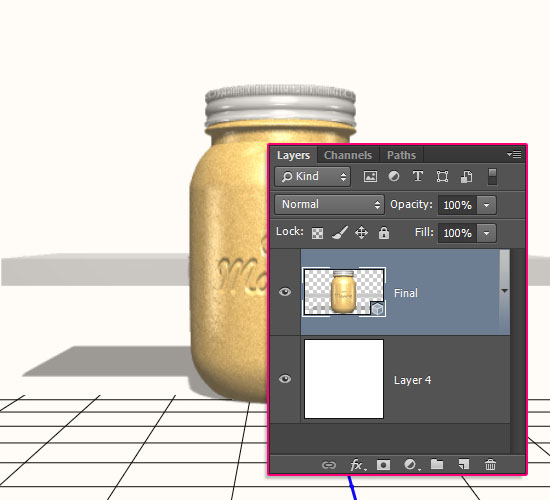
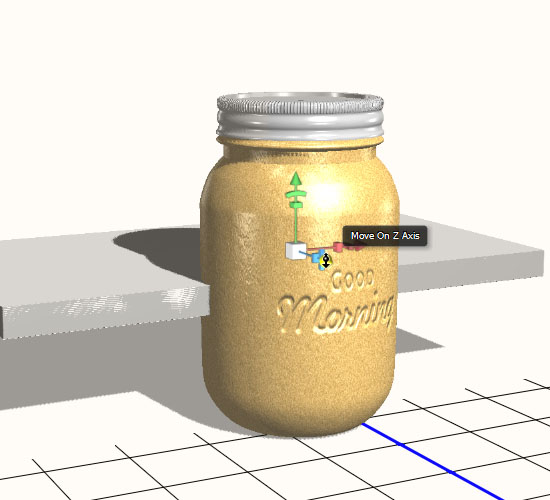
You can use the 3D Axis to do that (with the Move Tool selected). The arrows at the ends of the 3D Axis move the mesh, the part below them is used for rotation, and the cubes are used for scaling. The cube in the center is used to scale the object uniformly. All you need to do is click and drag the part you need to perform the changes.
This is a bit of a time consuming process as well, but things need to be placed nicely without overlapping.
You can select more than one mesh to modify at the same time (each jar and its lid for example), and you can also click the Coordinates icon at the top of the Properties panel to enter numerical values for the selected Mesh(es).
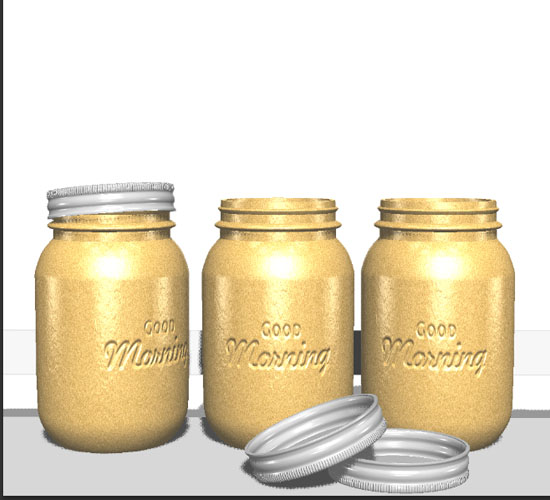
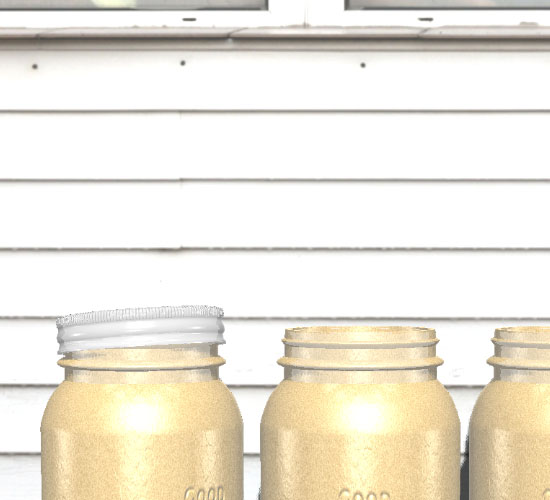
Select all the Shelf Material tabs, then click the Diffuse texture icon and choose Remove Texture.
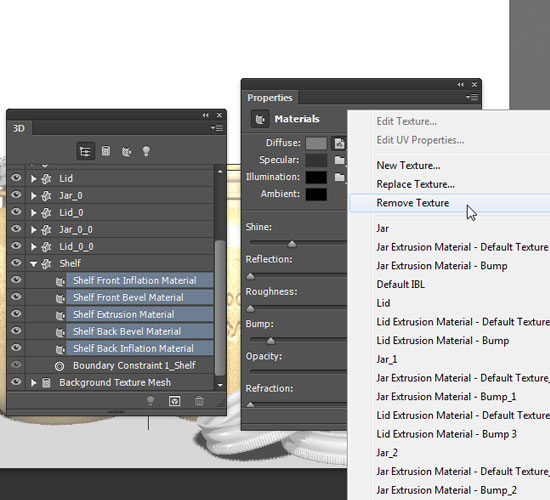
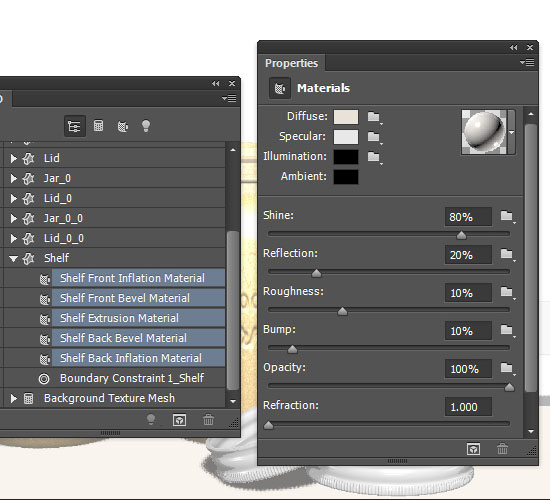
- Diffuse :
R = 233, G = 226, B = 217 - Specular :
R = 232, G = 232, B = 232
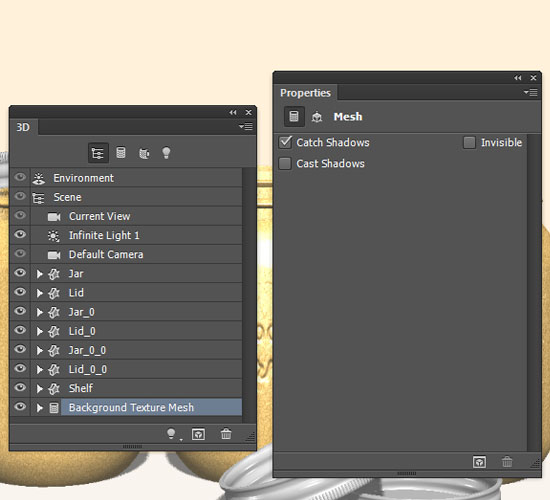
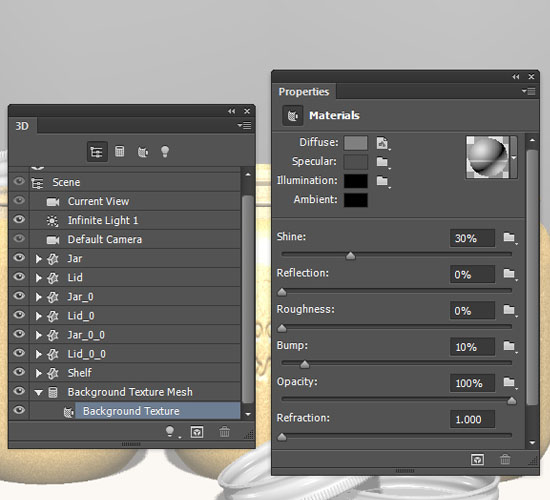
- Diffuse :
R = 79, G = 79, B = 79
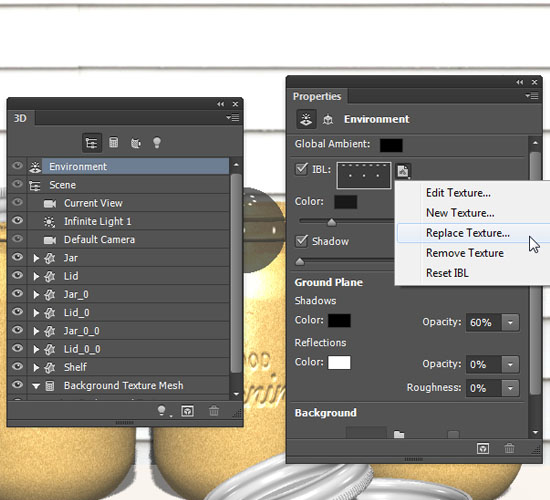
Click the Environment tab, click the IBL texture icon and choose Replace Texture, then load the Bokeh Stock I image.
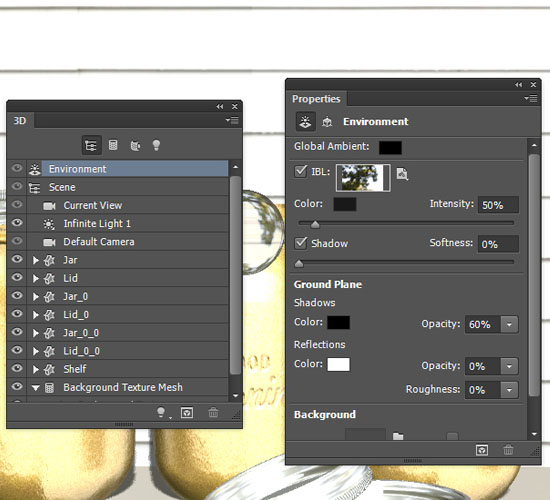
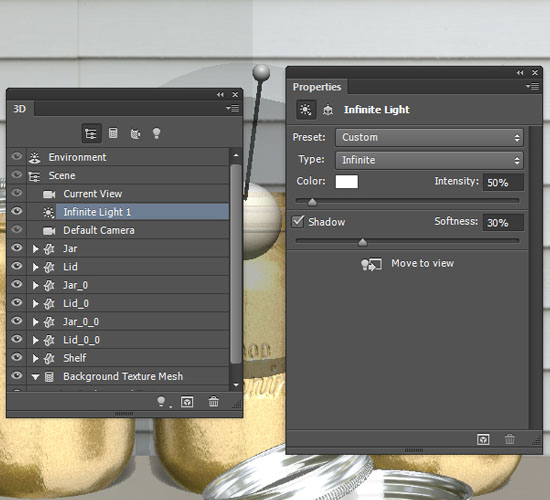
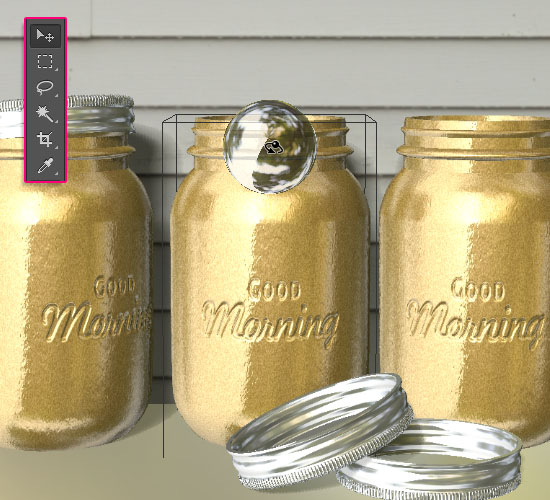
R = 191, G = 191, B = 191, and the Intensity is set to -3.67.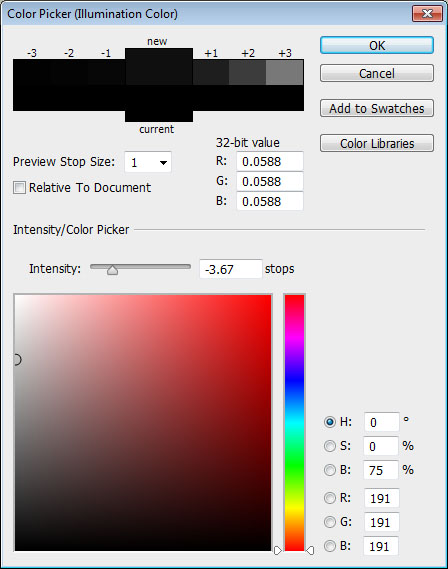
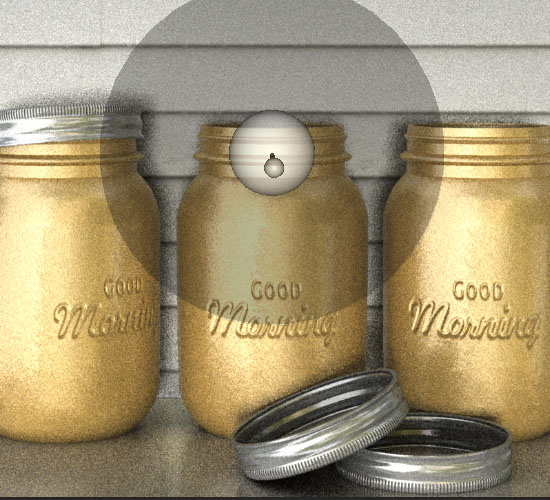
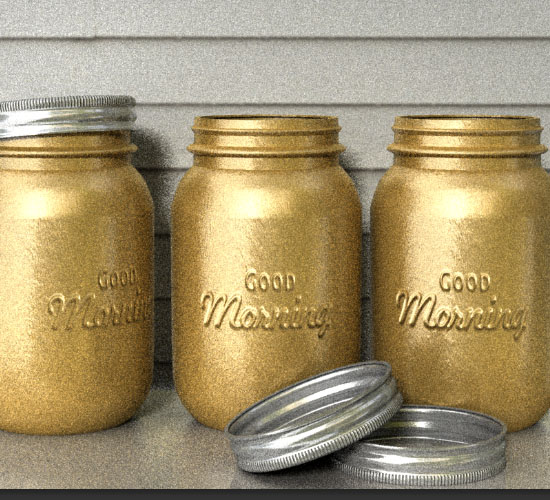
When you achieve a result you’re satisfied with, go ahead and fully render the scene.
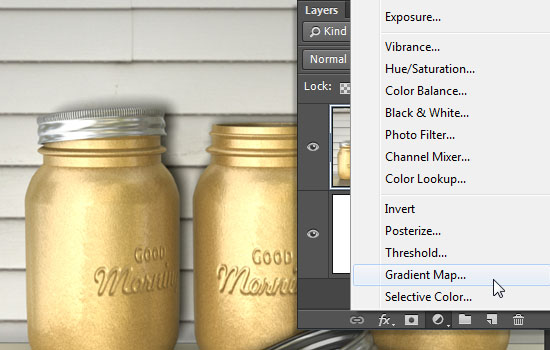
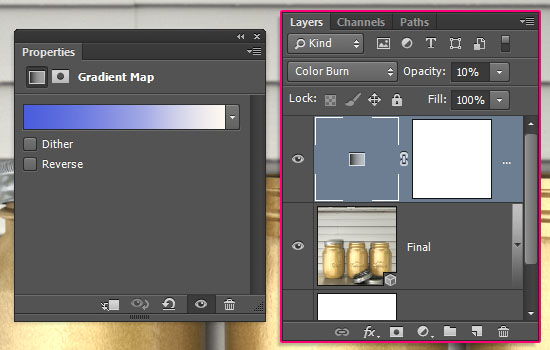
#4a5ddc to the left and #fdf8ef to the right. The color Midpoint‘s Location value is then set to 60%.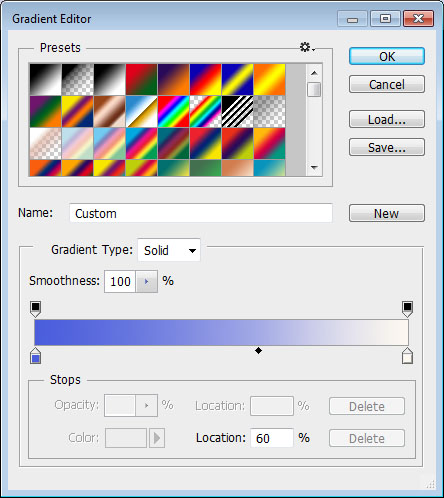
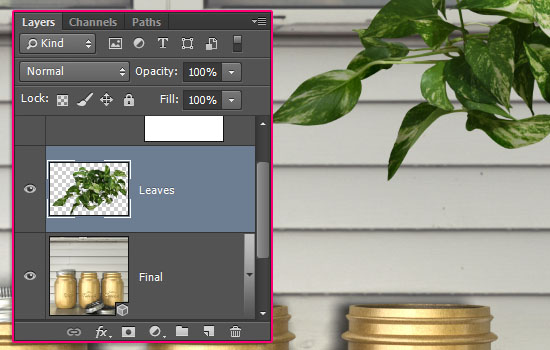
Enter the Free Transform Mode (Ctrl/Cmd + T) to resize and position the image in one of the document’s corners – make sure that its layer is below the Gradient Map layer.
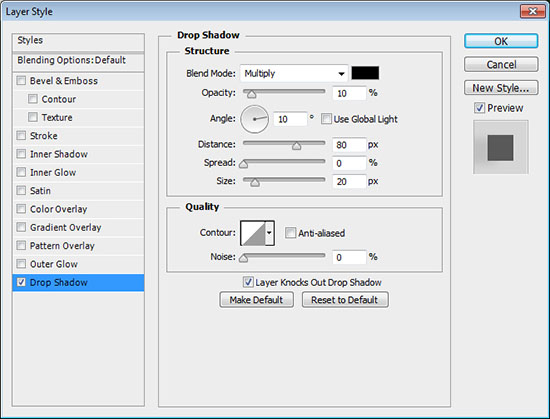
- Opacity : 10%
- Uncheck the Use Global Light box
- Angle : 10 (An Angle that matches the 3D Scene’s Shadows)
- Distance : 80
- Size : 20
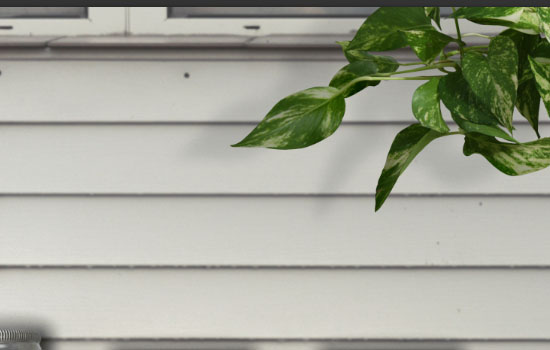
What’s cool about this effect is that you can absolutely play around with it as you like, using different colors, fonts, materials, etc.
Hope you enjoyed the tutorial and found it helpful

Thank you for posting such a great blog. I found your website perfect for my needs. Read About InfiniteLight Tech Canada
ReplyDelete